
Introduction
To transform an event and impress guests, look no further than the elegant dance floor wraps. Elevating an ordinary event space into a breathtaking venue and impress guests has never been easier, thanks to the innovative and stylish solution of dance floor wraps. These customizable floor coverings are not only a visual feast but also a testament to how personal touches can transform any gathering, from weddings to corporate events. This guide will walk you through the magic of dance floor wraps and unveil the simplicity behind their DIY installation.
The Allure of Dance Floor Wraps
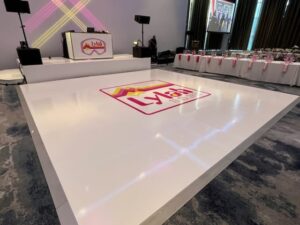
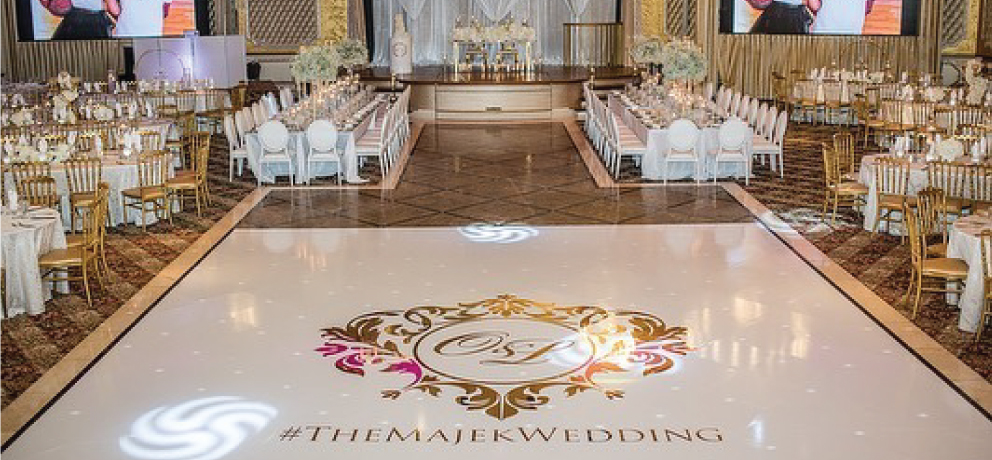
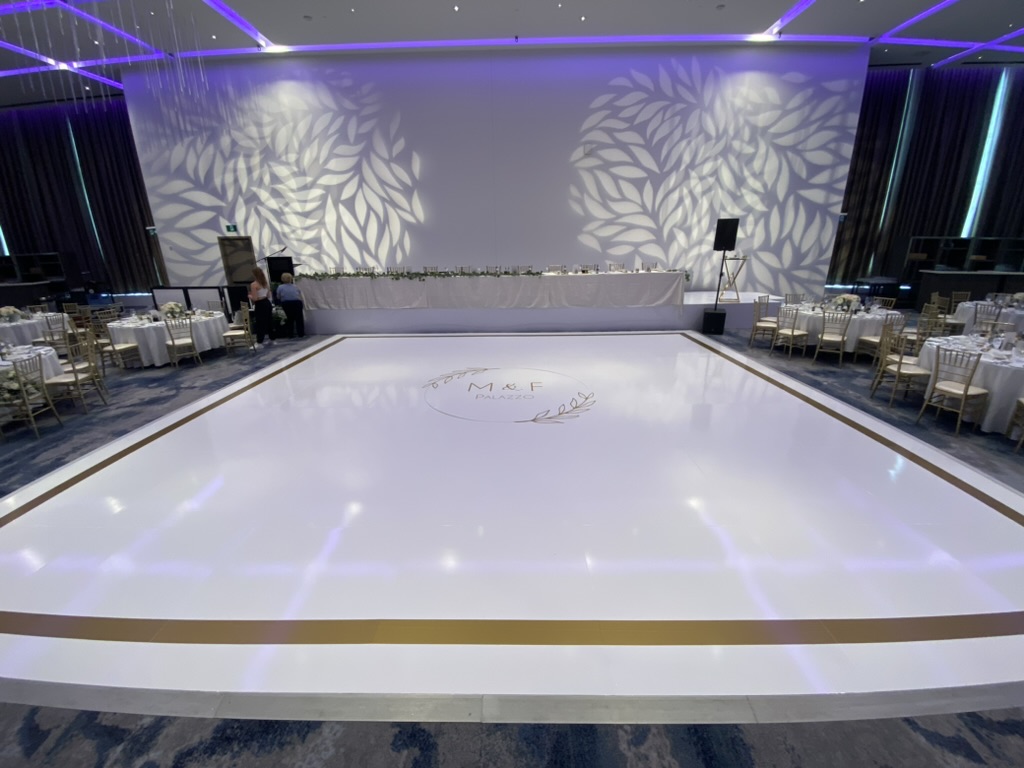
Dance floor wraps are essentially high-quality vinyl sheets designed to cover the existing dance floor, bringing with it an instant upgrade in ambiance and mood. The beauty of these wraps lies in their incredible versatility and the ability to completely customize them to fit the theme and aesthetics of your event.
Personalization at Its Best: Imagine walking into a room with a dance floor that perfectly matches the theme of the evening, adorned with the names of a happy couple or the logo of a prestigious company. That’s the power of personalization that dance floor wraps bring to the table.
Photo-ready Venues: In today’s social media-driven world, creating spaces that invite guests to take photos is a plus. Dance floor wraps transform ordinary spaces into stunning backdrops for those memorable moments.
Protect and Preserve: Beyond aesthetics, these wraps serve a practical purpose by protecting the underlying floor from damage — a win-win for both venue owners and event organizers.
DIY Installation: A Step-by-Step Guide
The thought of installing a dance floor wrap might seem daunting at first, but it’s surprisingly straightforward. Here’s how you can do it:
- Prep Work: Start with a clean slate. Ensure the dance floor is meticulously cleaned to remove any debris or residue that might interfere with the adhesive.
- Measure Twice, Cut Once: Accuracy is key. Measure your dance floor to determine the exact size of the wrap needed, keeping in mind to leave a little extra just in case.
- The Application Process: Begin at one end, gradually peeling the backing and smoothing the vinyl over the floor, eliminating any air bubbles along the way. This step is easier with a few helping hands, so don’t hesitate to involve friends or family.
- Seal the Deal: Once the wrap is laid out to satisfaction, a thorough once-over with a squeegee will ensure it adheres flawlessly, leaving no bubble or wrinkle behind.
- Enjoy, Then Remove: Post-event, the wrap can be easily removed, revealing the unscathed dance floor beneath, ready for its next adventure.
Dance floor wraps are a game-changer for event decoration, offering an unmatched level of personalization and elegance. What sets them apart is not just their visual appeal, but also the ease with which they can be installed and removed, making them a favorite among DIY enthusiasts and professional planners alike. With a bit of preparation and some helping hands, you can transform any event space into a personalized paradise that will leave your guests in awe. So why settle for a standard dance floor when you can create something truly unique and memorable? Embrace the trend of dance floor wraps and watch as your event space turns into a magical setting that reflects your personal style and vision.