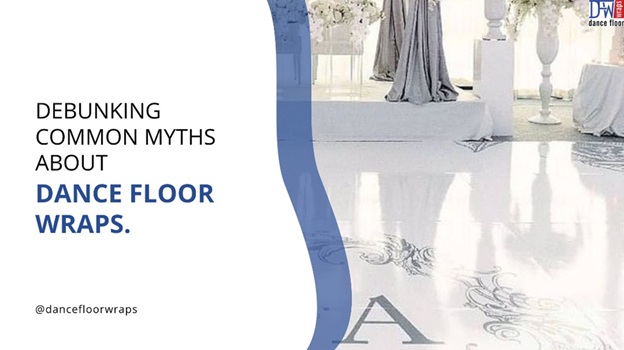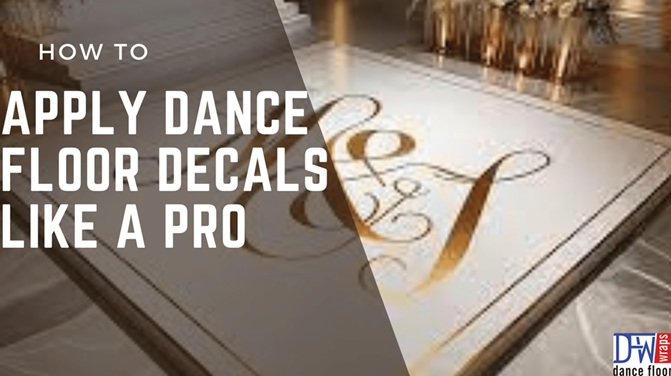
How to Apply Dance Floor Wrap like a Pro in 7 Simple Steps.
Ever thought of elevating the entire ambience of your event? Transforming the standard dance floor into a visually appealing centerpiece is a surefire way to achieve that!
Dance floor wraps are a stylish and innovative concept that can be customized to fit any theme or occasion. So whether you are an event planner or a DIY enthusiast looking to apply a dance floor wrap for your next event, I’ve put together an easy, step-by-step guide to help you apply dance floor wraps like a professional.
STEP 1:
Choose the right material: This is the first step to applying a dance floor wrap like a pro. The most popular material used is high-quality, thick and durable vinyl fabric that is slip resistant. This quality of fabric is sure to be flexible enough to lay flat and adhere smoothly.
STEP 2:
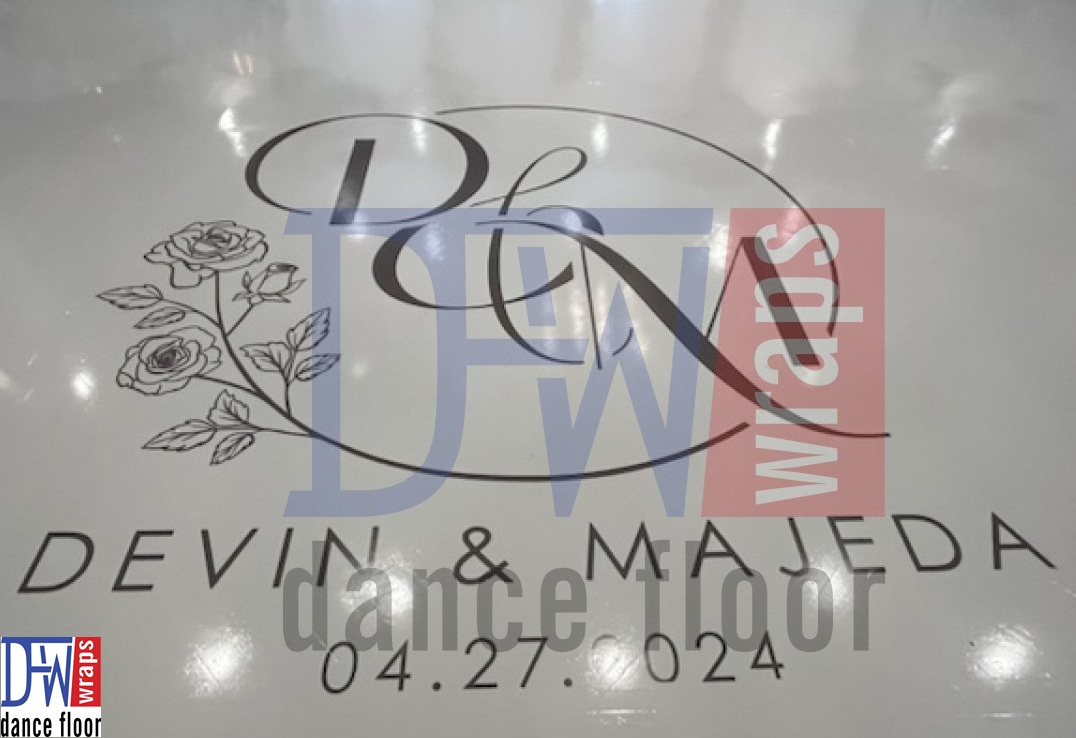
Prepare your Design: This is a crucial step. Make sure that your artwork is scaled to size and precisely measured to fit accurately to the dance floor.
STEP 3:
Measure and Clean the dance floor: Before you begin application, measure the area to ensure that your wrap will cover the entire area without any shortages. Also, you want to thoroughly clean the area to completely rid it of dirt, dust and debris. To ensure that the adhesive sticks properly, use an alcohol based cleaner to wipe down the area.
STEP 4:
Position the Wrap: To correctly position the wrap, roll out the wrap beside the dance floor to ensure everything lines up properly. Then, gently place one edge of the wrap at the end of the floor, making sure it aligns perfectly with the sides and corners.
STEP 5:
Apply the Wrap: Slowly peel back the backing of the vinyl wrap; gently peeling and sticking the wrap down bit by bit to prevent air bubbles. Use a squeegee to smooth out the vinyl as you lay it down. Push outwards from the center to the edges to eliminate any air pockets or wrinkles. This would result in a smooth, flat surface.
STEP 6:
Finish up by Trimming: Now that we’ve applied the entire wrap, it is possible to have some excess material around the edges. Using a sharp utility knife, trim off any excess wrap. In doing this, ensure you cut neatly along the edges to give it a professional-looking finish. For events where high foot traffic is expected, it is important to seal the edges with a clear sealant.
STEP 7:
Inspect the Wrap: Take a step back and check for any tiny bubbles, lose edges or wrinkles. Walk over the wrap to ensure all areas are firmly adhered to the floor and the surface feels even and secure.
Additional Tips: These are minor factors to put into consideration for a flawless finish.
1. Ensure that the room temperature is not extreme. Extreme heat or cold can affect the effectiveness of the adhesive.
2. Have extra vinyl material and tools on hand in case of mistakes or miscalculations.
3. Practice! Practice! Practice!
Lastly, applying a dance hall wrap may seem daunting but with the right tools and techniques, you can produce stunning results! As with most things in life, the key to a flawless finish is practice, patience and keen attention to detail. With this guide, you’re well on your way to transforming an ordinary dance floor into a spectacular focal point of your event.